Have you ever struggled with mounting a sound unit—like a speaker or buzzer—onto a surface that’s not metal? Maybe it’s wood, plastic, drywall, or even glass, and you’re scratching your head wondering how to make it stick without ruining your walls or the unit itself. You’re not alone! Attaching sound units securely to non-metal surfaces can be tricky, but it’s definitely doable with the right methods. In this article, we’ll explore easy, practical ways to get your sound units mounted fast and firmly, so your audio system sounds great without any hassle.
Non-Metal Surfaces
Before diving into the methods to attach sound units, it’s essential to understand the nature of non-metal surfaces themselves. These surfaces vary widely in their texture, porosity, strength, and overall durability, which directly affects how well adhesives or fasteners will hold. For instance, wood tends to be porous and rough, providing excellent grip for screws and many types of adhesives. Its natural grain and texture allow glues to penetrate slightly, making for a strong bond. However, wood can also expand or contract with moisture and temperature changes, which should be considered when mounting delicate sound units. On the other hand, plastic is usually smooth and non-porous, which makes sticking things to it a bit more challenging. Adhesives can have trouble forming a good grip on slick plastic surfaces unless you use special tapes or glues designed for plastics.
Common Sound Units and Their Mounting Requirements
Sound units come in many shapes and sizes, ranging from small buzzers and alarms to large, bulky speakers. This variation is crucial when deciding how to attach them because the weight and size dictate the strength of attachment required. Smaller sound units usually weigh very little, so simple solutions like double-sided tape or Velcro can work just fine. But as the size and weight increase, you’ll need to consider sturdier methods such as screws, anchors, or strong construction adhesives. The frequency of repositioning or removal also matters—if you want a setup that’s permanent and sturdy, stronger fasteners or adhesives are best. But if you prefer flexibility and want to move or adjust your sound units frequently, lighter solutions like removable mounting tape or Velcro strips might be the way to go.
Another important consideration is the environment where the sound unit will be installed. For example, sound units placed outdoors or in humid areas require adhesives or mounting options that can withstand moisture and temperature fluctuations. Units installed on walls that see a lot of activity or vibration might also need more secure mechanical fastening to prevent loosening over time. In short, the mounting method should not only support the unit’s weight but also suit the specific use case and environment. Balancing these factors ensures that your sound units stay firmly in place and function as intended without damage to the unit or surface.
Adhesive Solutions for Non-Metal Surfaces
Adhesives are often the first choice for attaching sound units because they offer a clean, straightforward, and damage-free solution. Unlike screws or nails, adhesives don’t require drilling holes or making permanent marks on your walls or surfaces. This makes them especially popular for renters or those who want a neat, invisible mounting method. However, it’s important to remember that not all adhesives are created equal. Different adhesives have varying strengths, drying times, and suitability for different surface types. Choosing the right adhesive depends on the weight of your sound unit, the surface you’re mounting it on, and the environment it will be exposed to.
Here are some common types of adhesives used for mounting sound units on non-metal surfaces:
- Double-sided tape
- Construction adhesives
- Silicone adhesives and sealants
Each has its own pros and cons, which we’ll explore next.
Double-Sided Tape
Double-sided tape is the simplest and fastest adhesive method for mounting sound units. It works especially well for light to medium-weight devices, such as small speakers, buzzers, or alarms, that need to stick onto smooth surfaces like plastic or glass. The key is to choose a heavy-duty double-sided tape designed for mounting purposes—not the kind of tape you might use for paper crafts or office work. Mounting tapes are thicker, have stronger adhesive, and often come with a foam backing that helps grip uneven surfaces better.
Advantages of Double-Sided Tape:
- Quick and easy installation without drying time
- Clean and no mess compared to liquid adhesives
- Removable in many cases without major damage
Limitations:
- May lose grip over time, especially in humid or hot environments
- Not ideal for heavy or bulky sound units
- Surface must be clean and dry for best adhesion
If you need a fast, temporary solution for a small sound unit on a clean, smooth surface, double-sided tape is a great option.
Construction Adhesives
When your sound unit is heavier or you want a more permanent hold, construction adhesives offer a stronger, more reliable bond. These adhesives are thick, strong glues designed specifically to bond tougher materials such as wood, plastic, drywall, and composite surfaces. Construction adhesives can fill small gaps or surface irregularities, making the bond more secure and durable over time. They are ideal for mounting medium to heavy sound units that need to stay put for the long haul.
Tips for Using Construction Adhesives:
- Apply adhesive evenly in a thin layer to the mounting area
- Clamp or hold the unit firmly in place while the adhesive cures
- Allow sufficient drying time—usually several hours or overnight—for a full bond
- Ensure both surfaces are clean and free from dust or grease before application
Construction adhesives provide a robust and long-lasting solution but require more patience and care during installation compared to tape.
Silicone Adhesives and Sealants
Silicone adhesives and sealants are prized for their flexibility and durability. Unlike rigid adhesives, silicone remains flexible after curing, allowing it to accommodate small movements or expansions of the surface caused by temperature or humidity changes. This makes silicone an excellent choice for mounting sound units on surfaces that may expand, contract, or vibrate. It’s also highly resistant to moisture, so it performs well in humid environments or places exposed to occasional splashes.
Why Use Silicone Adhesives?
- Flexible and durable, preventing cracks or detachment due to movement
- Resistant to moisture, heat, and cold
- Can bond well to a variety of surfaces including wood, plastic, and glass
How to Apply Silicone Adhesives:
- Clean and dry the mounting surface thoroughly before application
- Apply a thin, even bead or layer of silicone adhesive to the back of the sound unit or mounting bracket
- Press firmly and hold or clamp the unit in place to ensure good contact
- Allow the silicone to fully cure—usually 24 hours or as recommended by the manufacturer—before putting stress on the bond
Silicone adhesives offer a balance of strength and flexibility, making them a top choice for challenging mounting environments.
Mechanical Fastening Methods
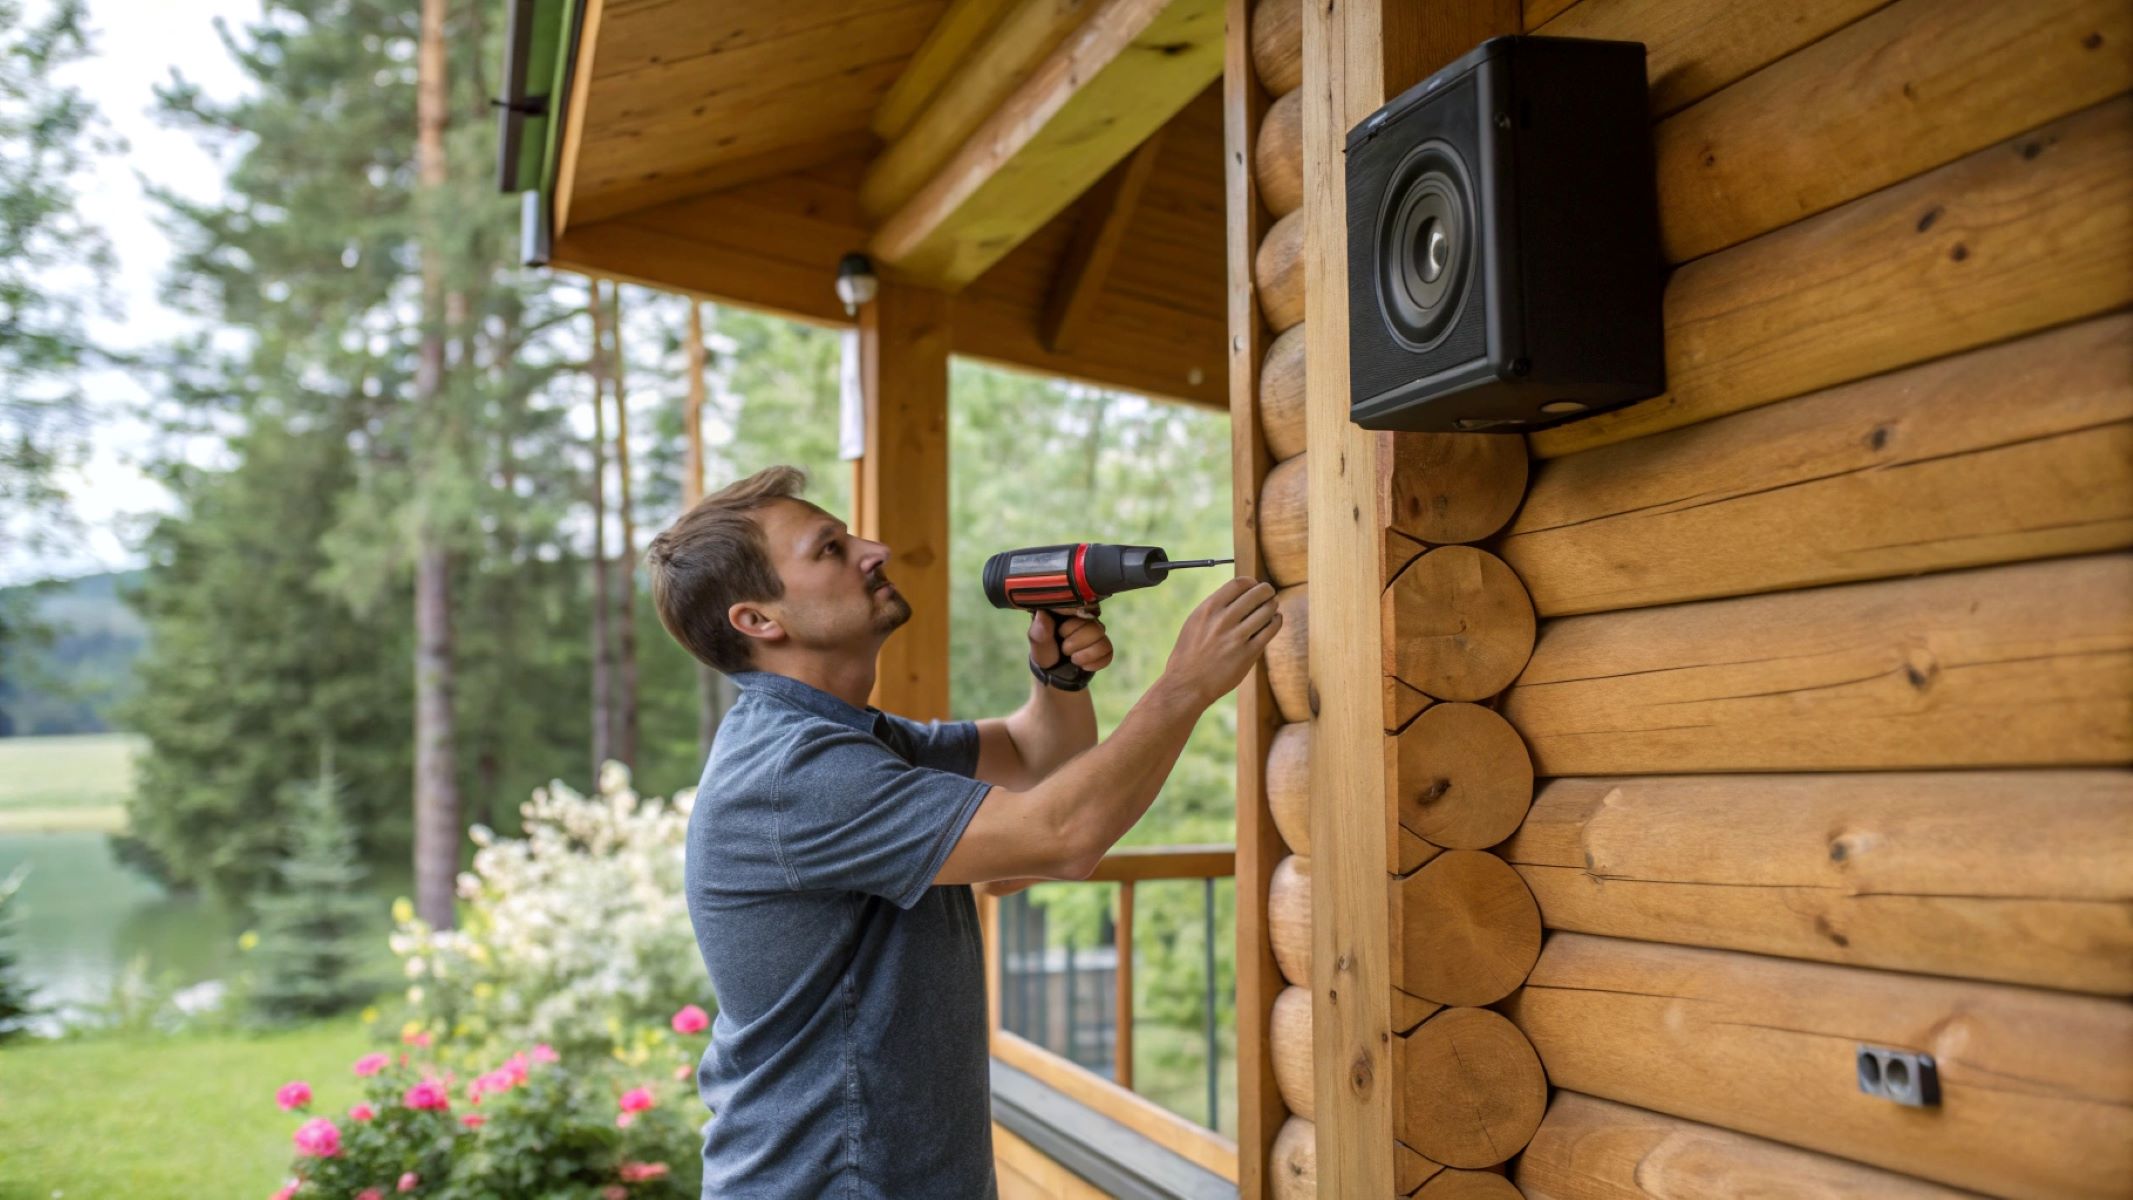
Mechanical fastening is a reliable way to attach sound units to non-metal surfaces, especially when you need a strong, permanent hold. Screws and anchors are particularly effective for surfaces like wood and drywall. Wood offers a solid base for screws because of its dense and fibrous structure, which grips the threads tightly. You can drill screws directly into wood without needing additional support. This makes screws a great choice for heavier sound units or installations that require durability over time. When using screws on wood, it’s recommended to pre-drill pilot holes to prevent the wood from splitting and to make the screw insertion easier and more precise.
Drywall, on the other hand, is more fragile and crumbly, so screws alone won’t provide a secure hold. Instead, anchors must be used to spread the load and prevent the screws from pulling out. Anchors come in different types—plastic expansion anchors, metal toggle bolts, and molly bolts—each designed for different weight loads and wall thicknesses. Selecting the right anchor depends on the weight of your sound unit and the drywall quality. The typical process involves drilling a pilot hole, inserting the anchor into the drywall, and then driving the screw into the anchor. This creates a strong fastening point that can support medium to heavy sound units without damaging the wall.
Velcro Strips and Mounting Tape
Velcro strips are an excellent option for lightweight and temporary installations where ease of removal is important. They consist of two parts: one with tiny hooks and the other with loops, which stick together securely but can be pulled apart easily. Velcro is especially useful for small sound units that you may want to reposition or take down frequently without damaging the mounting surface. Another advantage is the minimal mess—no drilling or permanent adhesives are required, making Velcro ideal for renters or temporary setups.
However, Velcro strips are not suitable for heavy or bulky sound units. Their grip can weaken on rough or textured surfaces, and they may fail under the weight of heavier devices. Similarly, mounting tapes designed for temporary use share some of these limitations—they work well on smooth, clean surfaces but may lose adhesion over time or with exposure to moisture. If your sound unit is small and light, Velcro or mounting tape offers great flexibility, but for anything heavier, more robust mechanical or adhesive solutions are needed.
| Method | Suitable Surfaces | Weight Capacity | Pros | Cons |
| Screws (Wood) | Wood | Heavy (depends on screw size) | Strong, permanent hold | Requires drilling, permanent |
| Anchors + Screws | Drywall | Medium to heavy (anchor-rated) | Secure for fragile drywall | More installation steps needed |
| Velcro Strips | Smooth, clean surfaces | Light | Easy to remove and reposition | Not for heavy units or rough surfaces |
| Mounting Tape (Heavy-Duty) | Plastic, glass, smooth surfaces | Light to medium | Simple, no tools required | Can lose grip in humidity |
Magnetic Solutions for Temporary Mounting
Magnetic mounting solutions offer a versatile and damage-free way to attach sound units temporarily, provided that either the sound unit or its mounting bracket has some metal parts. If your sound unit lacks metal components, you can still use adhesive-backed magnetic strips to create a magnetic base that adheres to the non-metal surface. This method is especially handy if you want to frequently detach and reattach the unit, such as for portable speakers or temporary alarm systems. Magnets provide a strong hold without the need for drilling holes or using adhesives that can leave residue.
This approach is best suited for lightweight to medium sound units because strong magnets are needed to reliably hold heavier devices, which can sometimes be bulky or expensive. Combining magnetic strips with adhesive backing also requires proper surface preparation to ensure the adhesive side sticks well. Although magnetic mounts offer convenience and flexibility, they might not be the best choice for permanent or heavy installations. Still, for anyone looking for a neat, reusable mounting system with minimal surface damage, magnetic solutions are worth considering.
Preparing Non-Metal Surfaces for Better Adhesion
No matter what adhesive or mounting method you choose, surface preparation plays a crucial role in the strength and durability of the attachment. Non-metal surfaces often have oils, dust, dirt, or residues that interfere with adhesives’ ability to bond effectively. The first step is to thoroughly clean the surface using rubbing alcohol or a similar degreasing agent. This removes contaminants that can weaken the adhesive grip and cause premature failure. Using a lint-free cloth, wipe the area until it’s completely clean and dry.
For glossy or very smooth surfaces such as plastic or glass, a light sanding can significantly improve adhesion. Sanding creates tiny abrasions that allow adhesives or tapes to “grab” the surface better, reducing the chances of slipping or peeling. Be sure to use fine-grit sandpaper and work gently to avoid scratching or damaging the visible area. Once sanding is done, clean the surface again to remove any dust particles. Finally, always ensure the surface is completely dry before applying any adhesive or tape, as moisture can interfere with bonding strength and longevity. Proper preparation maximizes the chances your sound unit will stay securely mounted for the long term.